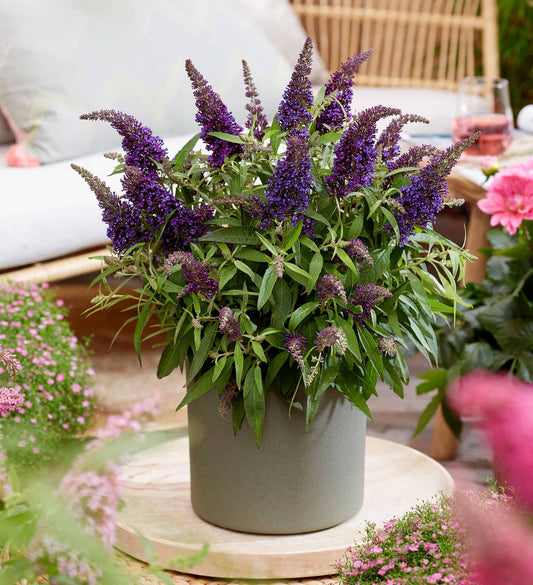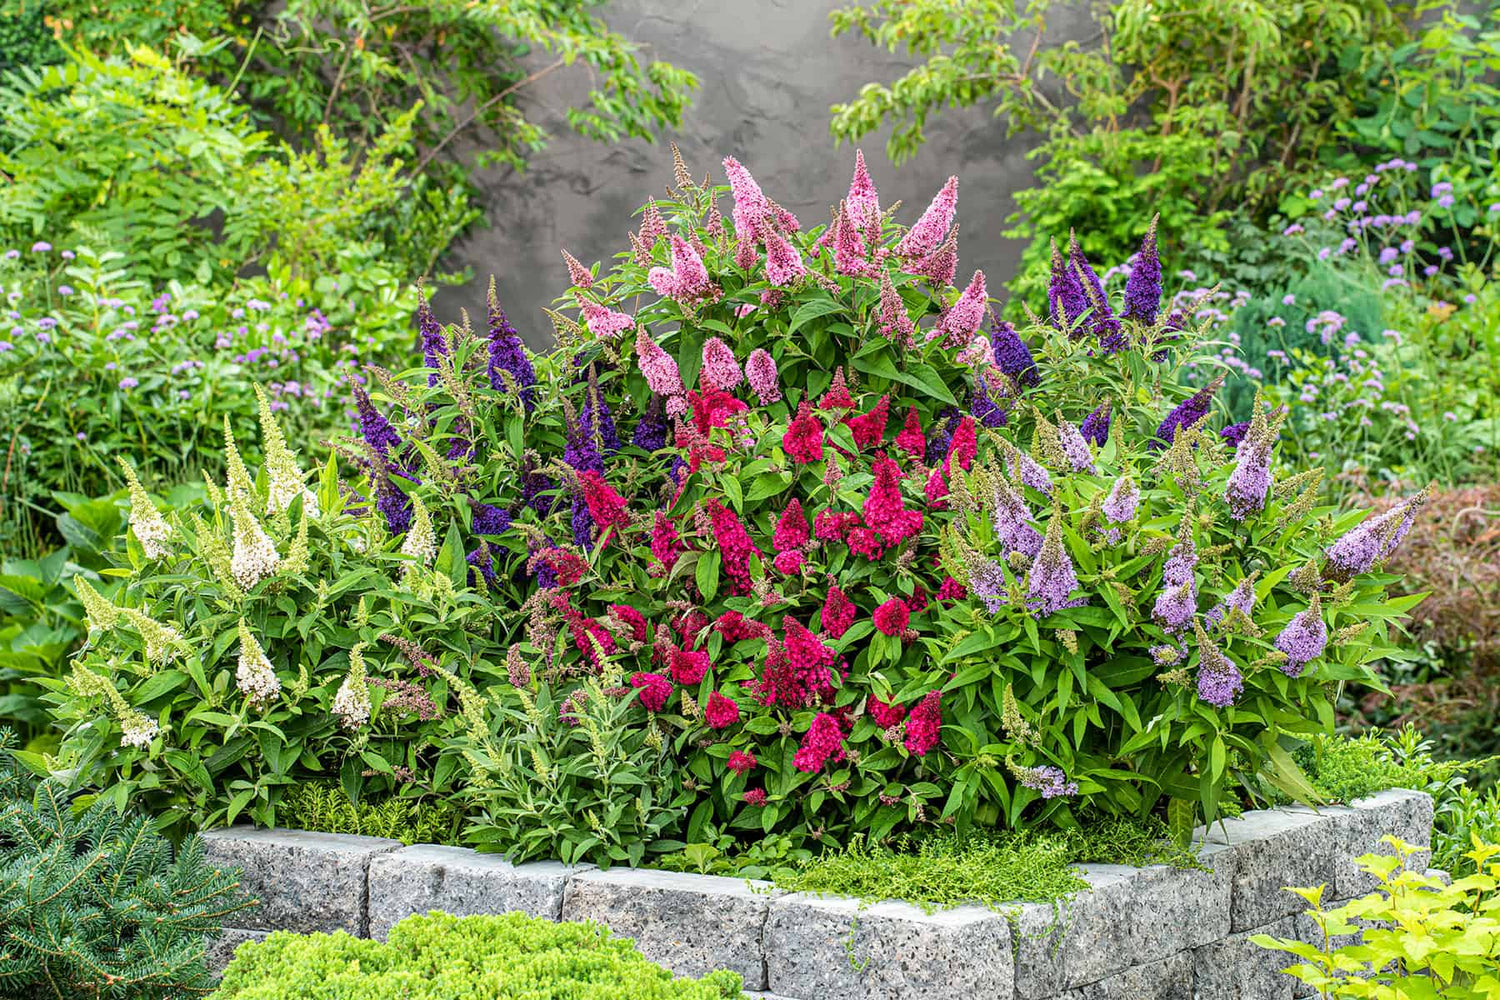

How to Winterize Container-Planted Butterfly Candy Butterfly Bushes
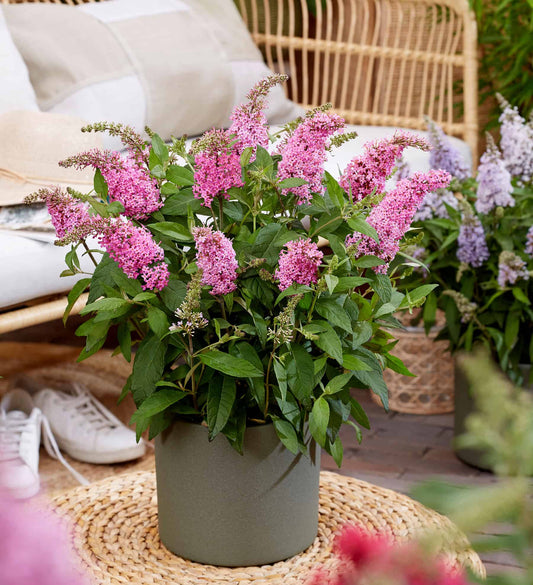
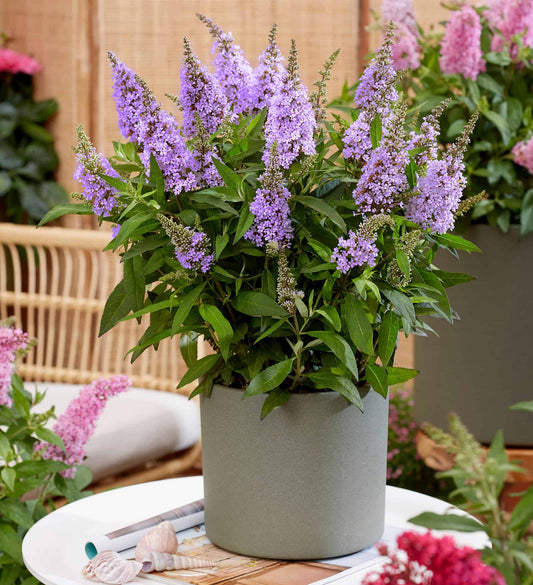
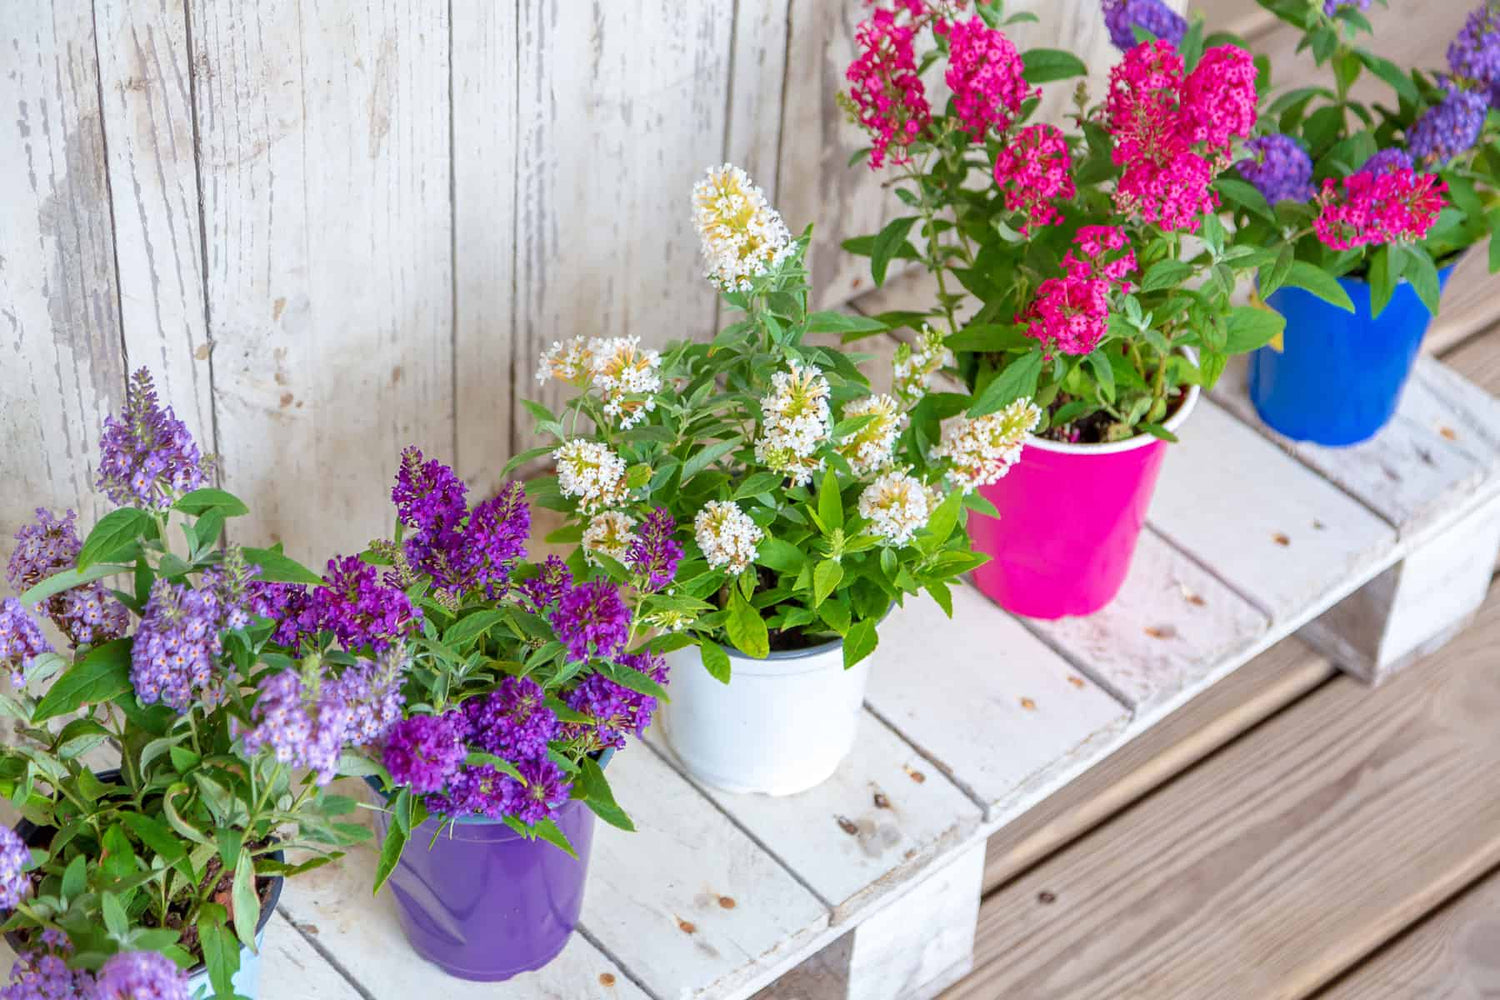
As cooler temperatures roll in, many gardeners start wondering: How do I winterize my container-planted Butterfly Candy butterfly bushes? These compact buddleias bring vibrant, pollinator‑friendly color to patios and porches all summer long, but if you want them to come back strong next spring, a bit of winter preparation is key—especially when they’re growing in pots.
Want to keep your container-grown Butterfly Candy bushes healthy through winter? This guide walks you through exactly what to do for strong regrowth and beautiful blooms next season.
Why Winterizing Butterfly Bushes in Containers Is Important
Butterfly bushes grown in the ground benefit from the earth’s natural insulation. In containers, however, the roots are exposed on all sides, making them far more vulnerable to cold, wind, and freeze–thaw cycles. Even hardy varieties like Butterfly Candy can suffer root damage in winter if left unprotected.
Proper winterization helps protect the root system, prevents rot, and ensures your butterfly bushes rebound with the lush growth they're known for.
Step 1: Ease the Plant Into Dormancy
To help your butterfly bush wind down for winter, stop fertilizing by late August or early September. This encourages the plant to harden off rather than putting energy into new, frost-sensitive growth.
As fall sets in, resist the urge to prune heavily. You can remove spent flower spikes and clean up any obviously dead or damaged stems, but leave the rest in place. Those woody stems act as natural insulation. Save your major pruning for early spring, once new growth begins.
Step 2: Insulate the Roots for Winter Survival
The most important part of winterizing a potted butterfly bush is protecting the root system. There are a few effective ways to do this, depending on your space and preferences.
If you have access to a sheltered location like an unheated garage, shed, or covered porch, move the container there before the coldest weather hits. This helps keep temperatures more stable around the root zone and shields the plant from biting winds. Alternatively, you can place the pot against your home’s foundation, especially on the south or west side, to take advantage of residual warmth.
Don’t have a sheltered space? Another option is to bury the entire pot in the ground. Dig a hole deep enough to sink the container and backfill with soil. The surrounding earth will insulate the roots just as it would for in-ground plants. Be sure to dig the pot back out once the risk of hard frost has passed in early spring.
If moving or burying the pot isn’t practical, wrap the outside of the container with insulating materials like burlap or frost cloth. Adding mulch to the soil surface inside the pot also helps, but avoid piling it directly against the stems to reduce the risk of rot. It’s also wise to elevate the pot slightly off the ground using bricks or pot feet so cold, wet conditions underneath don’t lead to damage.
And remember: containers made of resin, fiberglass, or thick plastic hold up better in freezing conditions than thinner ceramic pots, which can crack as water expands and contracts.
Step 3: Water Smart
Heading into winter, give your butterfly bush a deep watering before the soil freezes. This ensures the root ball is well-hydrated during dormancy.
Once the plant is dormant, its water needs are minimal. Check the soil every few weeks; if it’s completely dry a couple of inches down, give it a light watering. In general, watering once every two to four weeks is enough through the cold months. Avoid overwatering, as soggy soil that freezes can damage roots more than the cold itself.
Step 4: Check for Problems During Dormancy
Even when dormant, it’s worth checking on your butterfly bush occasionally. Make sure the container hasn’t cracked, drainage holes remain clear, and no standing water is accumulating at the base. If snow or debris has piled up on the stems, gently brush it off. Also, inspect for signs of rot or mold and adjust your watering or insulation accordingly.
Step 5: Transition Smoothly Into Spring
As the weather begins to warm, start easing your butterfly bush out of its winter setup. Remove any wrapping or insulation gradually to avoid shocking the plant. If it was stored in a garage or sheltered space, move it back into full sun once the chance of hard frost has passed.
This is also the time to prune! Cut the stems back to about 6 to 12 inches above the soil line to encourage fresh, compact growth. Resume regular watering and feed with a balanced slow-release fertilizer to support blooming.
FAQs – Winterizing Container-Grown Butterfly Bushes
Can butterfly bushes survive winter in pots?
Yes, especially compact varieties like Butterfly Candy, but only if the container is insulated and winterized properly.
Do butterfly bushes come back every year in containers?
With correct winter care, yes! They may die back to the base in colder zones but regrow in spring.
Do I need to prune my Butterfly Candy butterfly bush before winter?
Only lightly. Do major pruning in early spring before new growth.
Don’t let winter catch your garden off guard. With proper container winter protection, your Butterfly Candy butterfly bushes will reward you with rich color and pollinators year after year. Whether you're in Zone 5 or Zone 9, following these steps will help your container-grown butterfly bush thrive through winter and bloom beautifully in spring.